Sew Your Strategy to Christmas Cheer: A Complete Information to Stitching Your Personal Introduction Calendar
Associated Articles: Sew Your Strategy to Christmas Cheer: A Complete Information to Stitching Your Personal Introduction Calendar
Introduction
With nice pleasure, we’ll discover the intriguing matter associated to Sew Your Strategy to Christmas Cheer: A Complete Information to Stitching Your Personal Introduction Calendar. Let’s weave fascinating info and provide recent views to the readers.
Desk of Content material
Sew Your Strategy to Christmas Cheer: A Complete Information to Stitching Your Personal Introduction Calendar

The countdown to Christmas is a magical time, crammed with anticipation and the candy scent of pine needles. Whereas store-bought creation calendars provide a handy resolution, nothing fairly compares to the appeal and personalization of a home made one. This yr, ditch the mass-produced goodies and embrace the enjoyment of crafting with a sewn creation calendar. This complete information will stroll you thru designing, creating, and personalizing your personal distinctive creation calendar sample, making certain a cherished souvenir for years to come back.
Half 1: Designing Your Dream Introduction Calendar
Earlier than diving into the stitching machine, meticulous planning is essential. Take into account these key facets to design a sample that completely fits your wants and aesthetic:
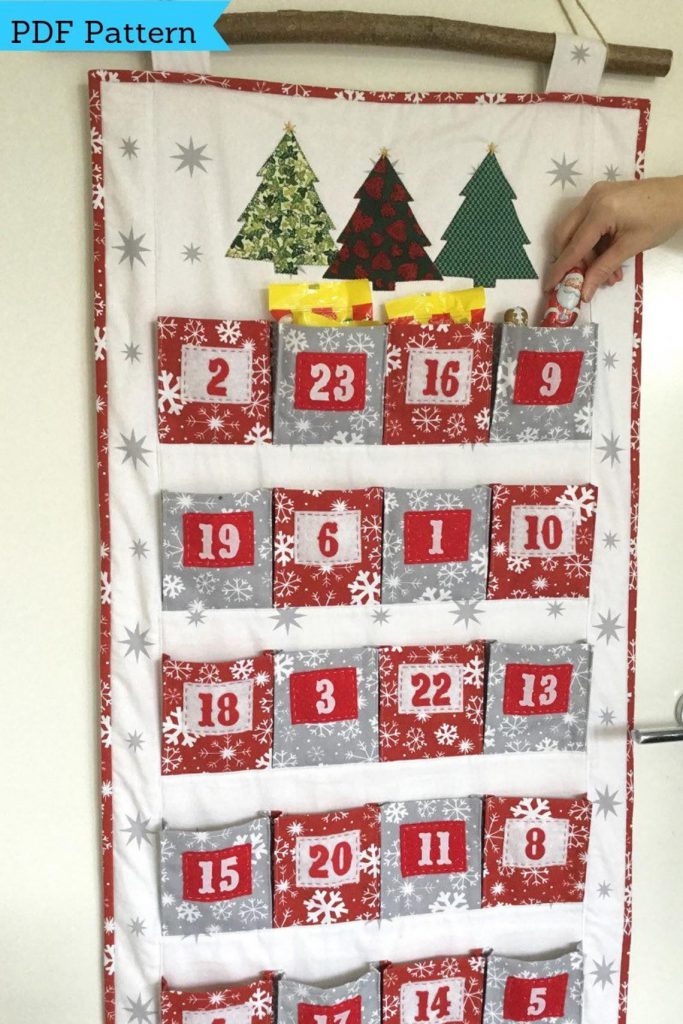
1. Form and Dimension: The probabilities are limitless! From traditional homes and bushes to whimsical animals and festive snowflakes, select a form that displays your persona and décor. The dimensions will rely on the variety of pockets (24, after all!) and the scale of the treats you propose to incorporate. Smaller pockets are perfect for goodies or small toys, whereas bigger ones can accommodate handmade presents or notes.
2. Material Choice: The material you select will considerably influence the general feel and appear of your creation calendar. Take into account these choices:
- Cotton: A sturdy and available alternative, good for inexperienced persons. It is simple to work with and is available in an unlimited array of colors and patterns. Take into account festive prints like snowflakes, reindeer, or Christmas bushes.
- Flannel: A splendidly delicate and comfy cloth, splendid for a country or whimsical creation calendar. Its plush texture makes it good for kids.
- Linen: For a extra refined and stylish look, linen presents a good looking drape and a pure texture.
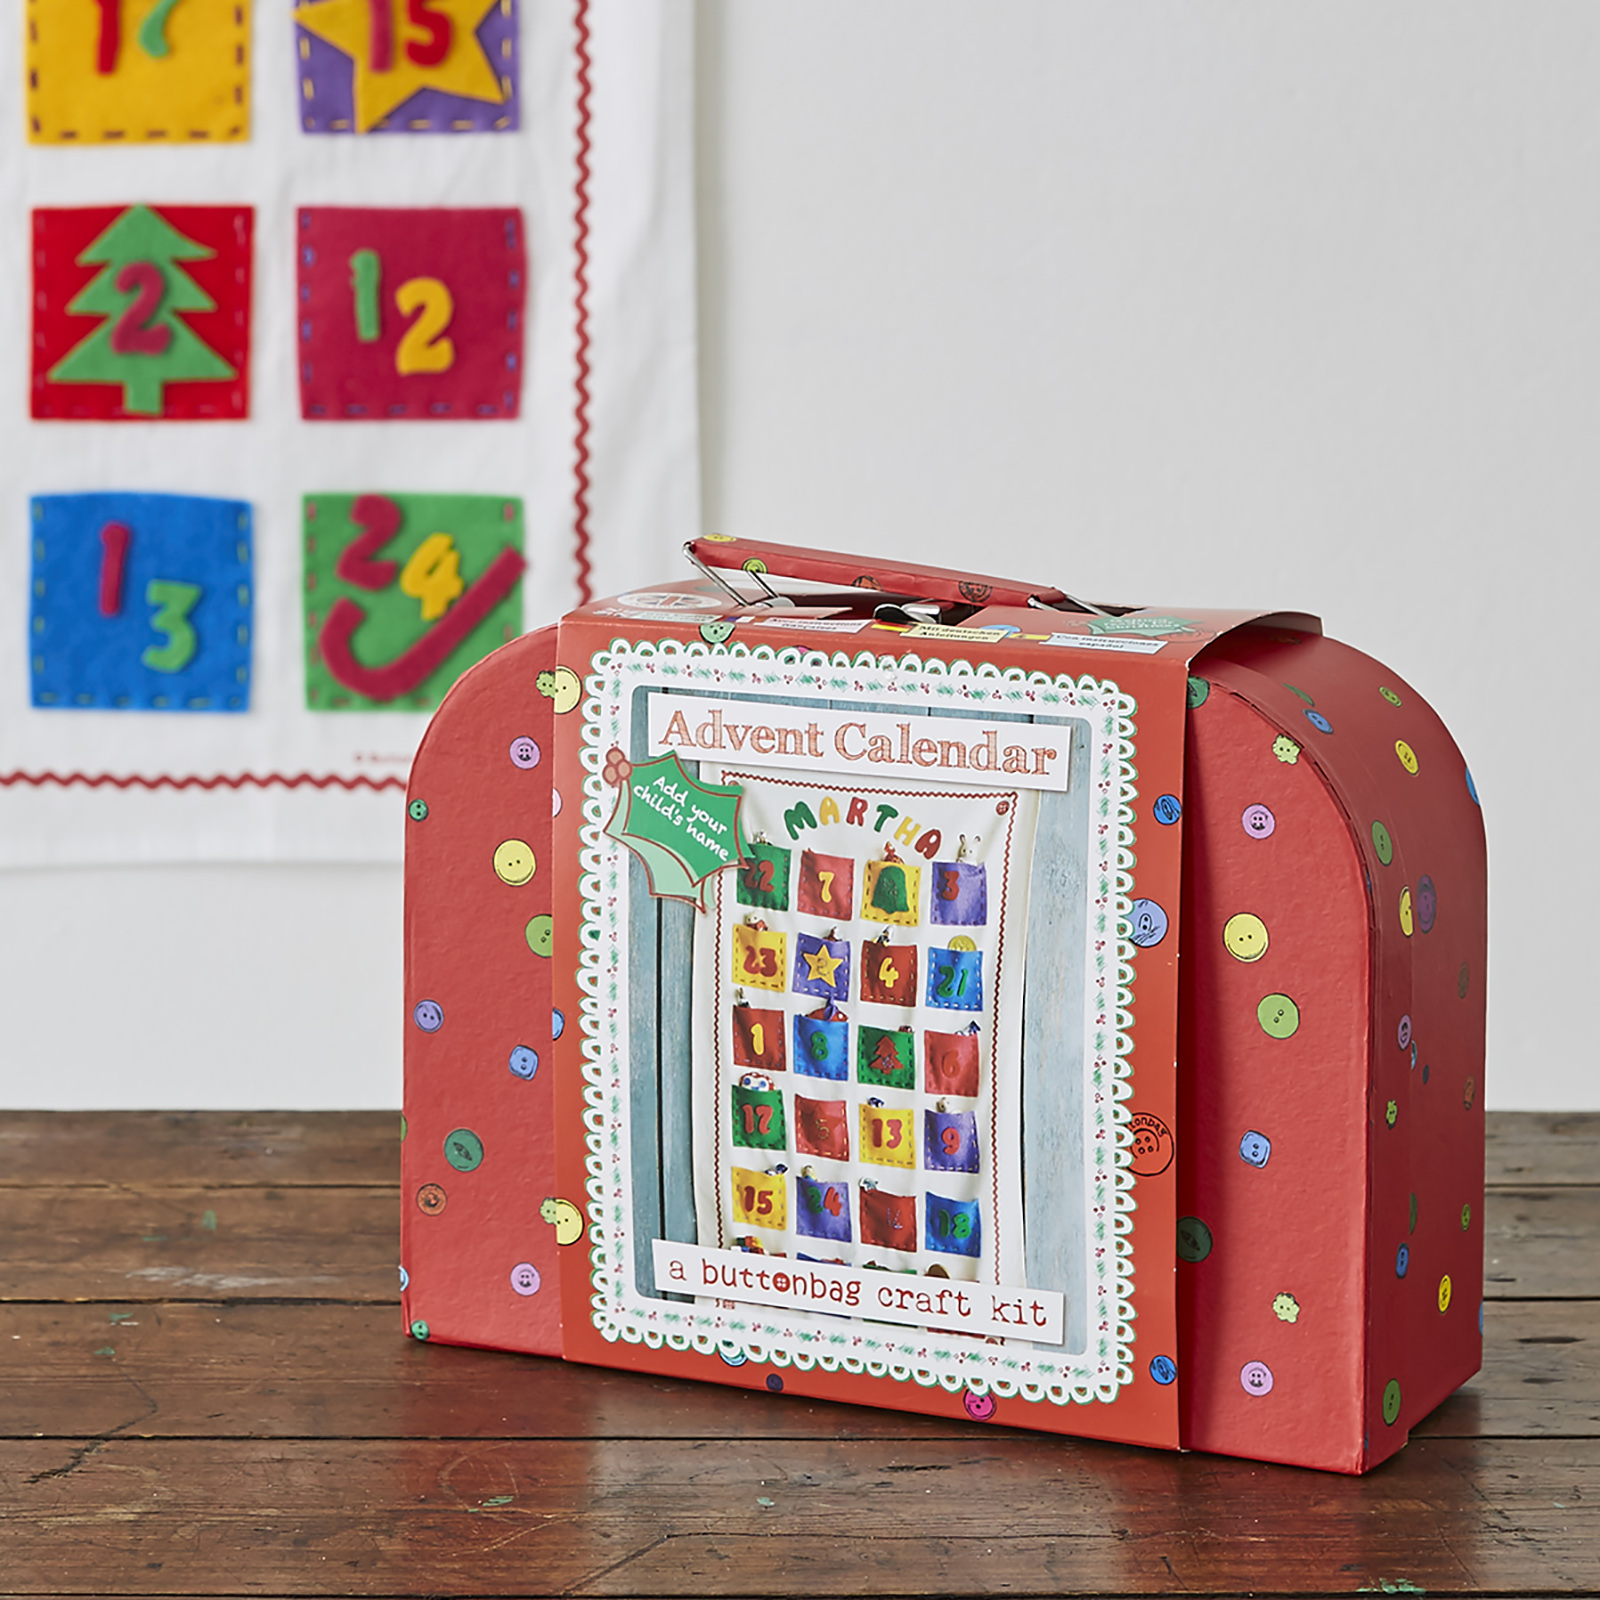
- Felt: A non-fraying cloth that is simple to stitch and deal with, significantly appropriate for intricate shapes and designs. It is also an awesome possibility for appliqué particulars.
3. Pocket Design: The pocket design is an important ingredient of your sample. Take into account these choices:
- Numbered Pockets: Essentially the most conventional method, clearly indicating the day of the countdown. You may both sew numbers straight onto the material or use cloth numbers or tags.
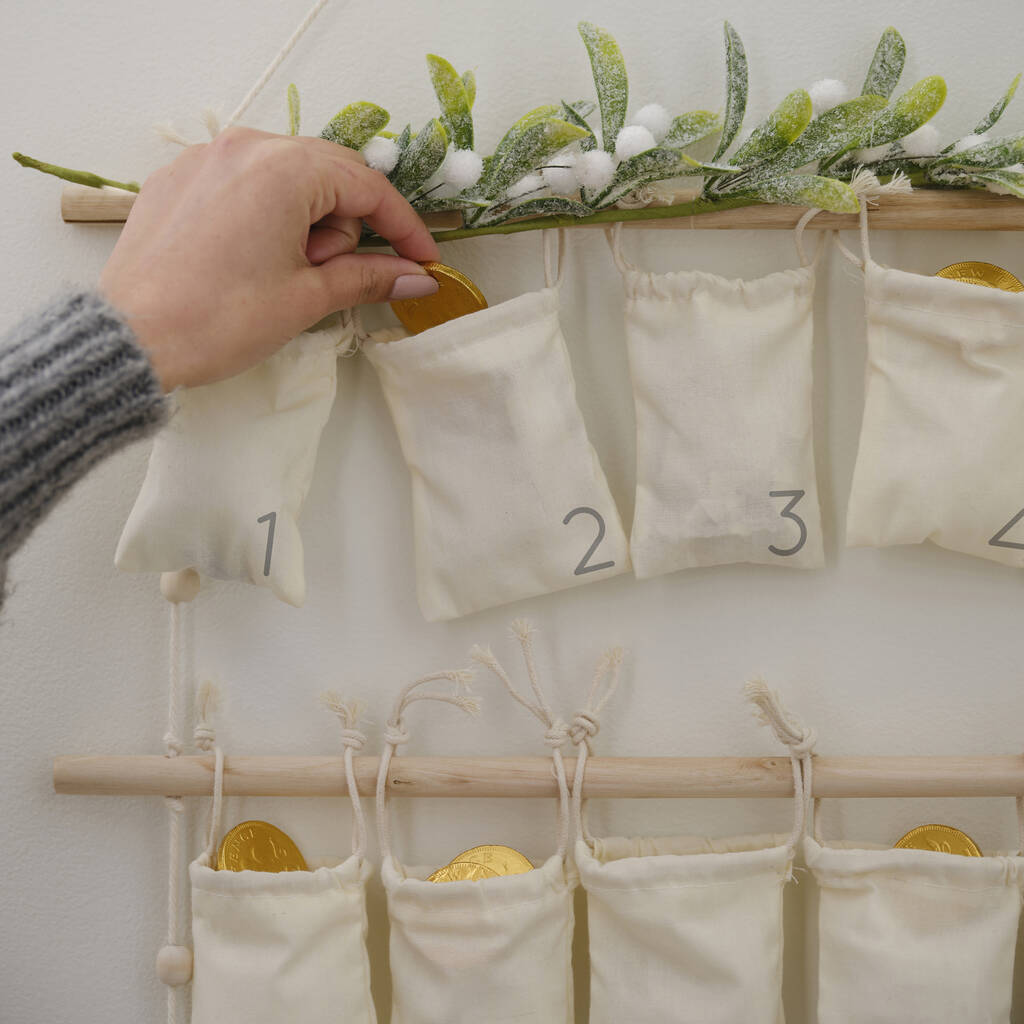
- Easy Pockets: Good for a minimalist aesthetic, these pockets may be embellished with embroidery or appliqué.
- Formed Pockets: Get artistic! Use totally different shapes for every pocket, mirroring your general design theme. For instance, in case your calendar is formed like a Christmas tree, you would use in a different way formed tree ornaments as pockets.
- Hidden Pockets: Add a component of shock by incorporating hidden pockets inside bigger pockets, making a double layer of anticipation.
4. Elaborations: Including gildings elevates your creation calendar from practical to fabulous. Discover these choices:
- Appliqué: Reduce out festive shapes from contrasting materials and stitch them onto the calendar.
- Embroidery: Add delicate stitches to personalize the calendar and add intricate particulars.
- Buttons: Use buttons as pocket closures or ornamental components.
- Ribbons and Lace: Add a contact of class with ribbons and lace trims.
- Beads and Sequins: For a glittery end, incorporate beads and sequins.
Half 2: Creating Your Stitching Sample
As soon as your design is finalized, it is time to create your stitching sample. This is a step-by-step information:
1. Sketch Your Design: Begin by sketching your chosen form and measurement on paper. Embody detailed measurements of all elements, together with pockets and gildings.
2. Create a Template: Primarily based in your sketch, create a template out of sturdy paper or cardstock. This may function your information for slicing the material. For advanced shapes, think about using a number of templates for various elements.
3. Reduce Your Material: Utilizing your template, rigorously reduce out the required cloth items. Keep in mind so as to add seam allowances (usually ½ inch) to every piece. If utilizing a number of materials for gildings, reduce these items in accordance with your design.
4. Assemble the Pockets: Sew the pockets collectively, following your design. When you’re utilizing numbered pockets, connect the numbers earlier than assembling the pockets.
5. Connect the Pockets to the Important Material: Fastidiously place the pockets onto the principle cloth piece, making certain they’re evenly spaced and aligned. Sew them securely in place.
6. Sew the Calendar Collectively: Sew the principle cloth items collectively, following your design. For instance, if you happen to’re making a house-shaped calendar, you will want to stitch the partitions and roof collectively.
7. Add Elaborations: As soon as the calendar is sewn, add your chosen gildings. Comply with the directions for every embellishment kind.
Half 3: Personalizing Your Introduction Calendar
The fantastic thing about a home made creation calendar lies in its personalization. Take into account these concepts to make yours really distinctive:
1. Customized Touches: Embroider names or initials onto the calendar, including a private contact.
2. Household Images: Incorporate small household pictures into the design, making a cherished souvenir.
3. Thematic Designs: Select a theme that displays your loved ones’s pursuits, akin to winter animals, favorite books, or perhaps a particular vacation movie.
4. Handmade Treats: Fill the pockets with home made treats, including an additional layer of affection and personalization. Take into account small cookies, candies, and even handwritten notes.
5. Charitable Giving: As a substitute of treats, fill the pockets with small acts of kindness, akin to coupons for members of the family to do chores, or donations to a selected charity.
Half 4: Past the Fundamentals: Superior Methods
For extra skilled sewists, discover these superior methods:
1. Quilting: Add a layer of batting between cloth layers for a quilted creation calendar, including heat and texture.
2. Appliqué Methods: Discover varied appliqué methods, akin to raw-edge appliqué or machine appliqué, to create intricate designs.
3. Embroidery Stitches: Experiment with totally different embroidery stitches so as to add detailed gildings.
4. Free-Movement Quilting: Use free-motion quilting so as to add ornamental stitches to the calendar.
5. Sample Design Software program: Make the most of sample design software program to create extra advanced and complicated patterns.
Conclusion:
Creating a home made creation calendar is a rewarding expertise that lets you specific your creativity and create a cherished household heirloom. By following this complete information and letting your creativeness run wild, you’ll be able to sew your approach to a really magical Christmas countdown. Keep in mind to benefit from the course of, embrace imperfections, and cherish the recollections created whereas crafting this distinctive and personalised creation calendar. The enjoyment of making one thing stunning and significant to your family members is essentially the most valuable reward of all.


Closure
Thus, we hope this text has offered helpful insights into Sew Your Strategy to Christmas Cheer: A Complete Information to Stitching Your Personal Introduction Calendar. We thanks for taking the time to learn this text. See you in our subsequent article!